
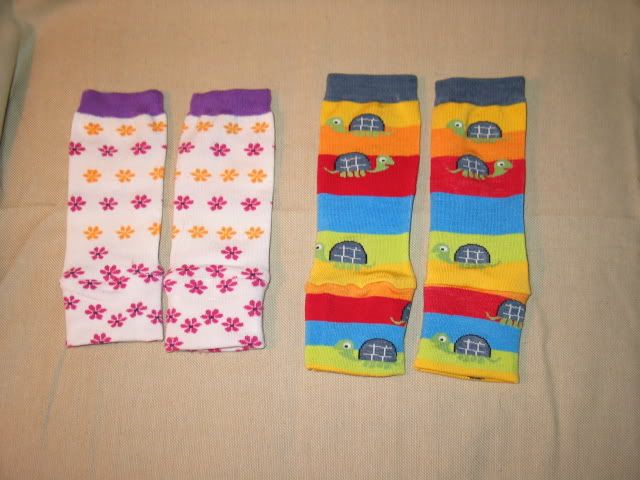
This is the two pairs of babylegs I made today.
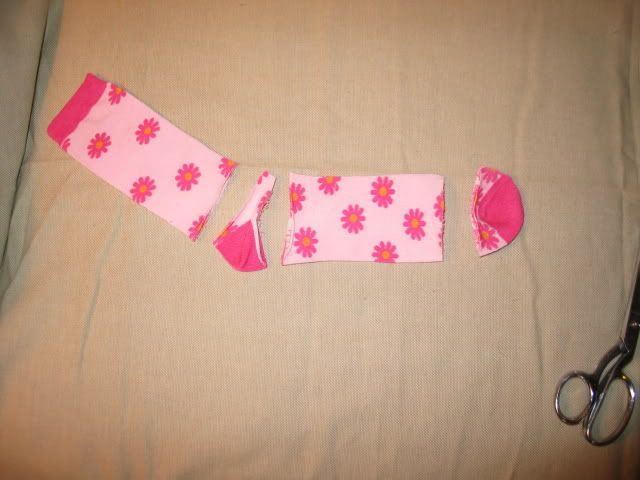
Step one: cut the sock in half at the heel. Cut the heel and toe off of the sock. Discard the toe and heel. (Unless you can think of something to do with them)
Turn the foot part of the sock inside itself as shown with the "good" side showing.
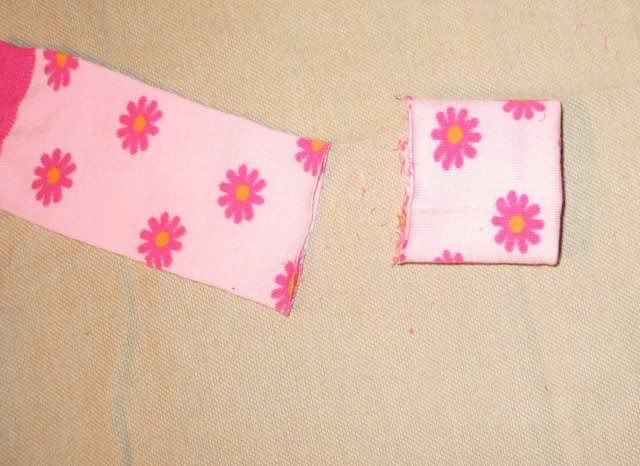
Put the top part of the sock inside the foot part of the sock. All the rough edges should line up.
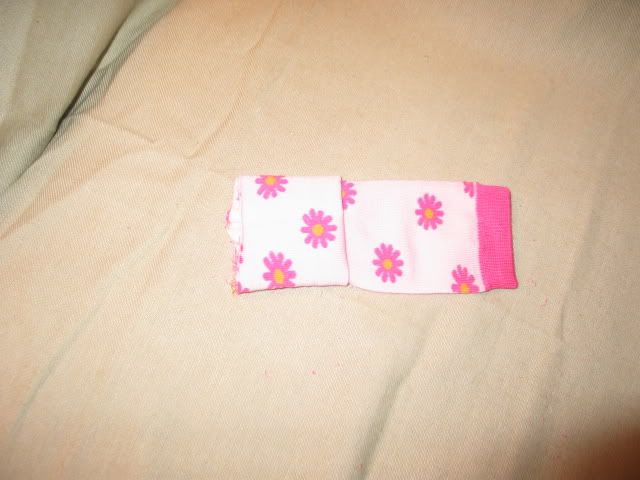
Now, comes the sewing part. I did not pin but if it makes you feel better pin the rough edges together around the sock then sew the three edges together. I used a zig-zag stitch to make it easier to stretch. fold the bottom part down and Voila! You're done!

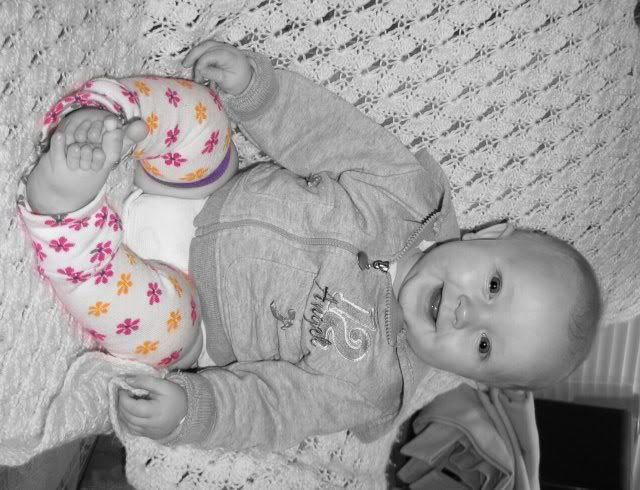
Here is Zoe modeling her "Babylegs"


2 comments:
Good job Sarah !!!
I am SO glad I found this on your blog. I want to make some of these for Sarah (since I never did for Abby, and I don't think they'd have worked on her skinny little legs anyway). Thank you!
Post a Comment